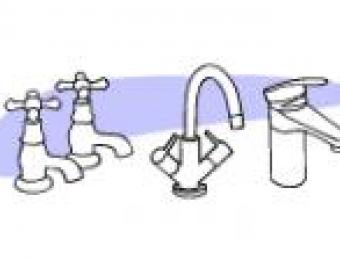
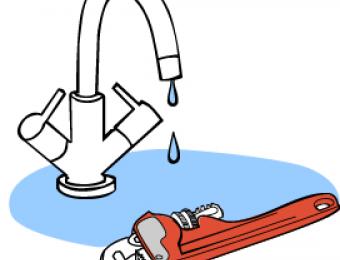
Most of the time, if a tap in your home is leaky, dripping or hard to close it's the result of a broken washer. While it's possible that your leaking tap's a 'washerless' tap (i.e. one with a ball, cartridge or ceramic disc mechanism - see the 'Types of taps' article linked below), it's a lot less likely that these taps will be leaking like this. You can usually tell if you have a ceramic disc type tap because it'll only need a quarter or half turn to fully open the tap.
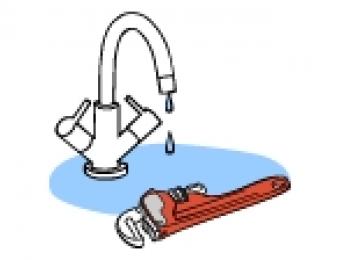
Replacing a busted tap washer in a leaky tap yourself isn't terribly complicated - and it's really the only bit of plumbing work which which isn't regulated by law, which you're technically allowed to do for yourself. If you know you've got a tap that uses a washer and it's dripping or it's become very hard to close, then you may want to replace the washer for yourself.
A word of warning: if you're not 100% confident about what you're doing and how you're doing it, call a plumber.
Tools you'll need:
To replace the washer in a leaky tap, you'll need a few tools:
- A shifting wrench (a shifter) or a set of spanners
- Possibly some pliers
- Possibly a screwdriver
- Possibly some gaffer tape
- A cloth
How to replace a tap washer:
1. Turn off the water at the mainsIf you disassemble your tap before you've turned your water off you'll have a huge mess on your hands. The tap for your water mains is normally located at the front of your house where your water meter is, or sometimes in the bathroom or laundry if you live in a flat or apartment. You'll also need to turn the water off at the hot water service. Some bathrooms may have an isolation valve under the sink inside the vanity which might allow you to just isolate those taps instead. |
|
2. Empty the tapOnce the water's off at the mains, turn the tap on to allow any remaining water to run out. The water should stop flowing pretty quickly. If it doesn't, you probably haven't turned the water off properly at the mains. Once it's stopped, put the plug in to make sure you don't lose any important parts down the drain. |
 |
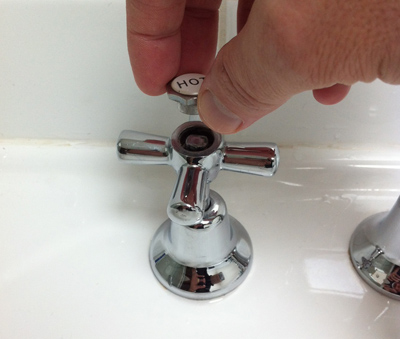
3. Remove the button on the top of the tapIf it has one, remove the button on top of the tap which holds the handle on (often the bit that says 'hot' or 'cold'). You may need a screwdriver for this, depending on how your tap's built. |
 |
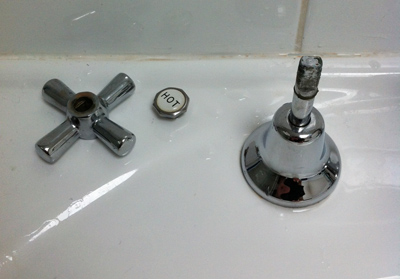
4. Take the handle off the tapHow this is done will depend on the tap, but it usually just involves unscrewing something to expose the guts of the tap below. |
 |
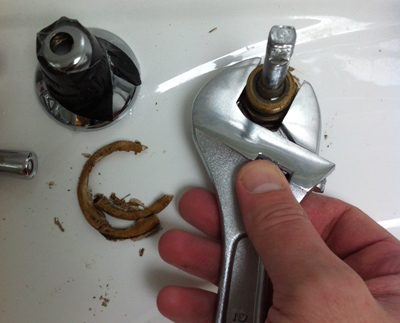
5. Remove the shroud / skirtIf the tap has a metal shroud or skirt like this one does, you'll need to screw that off too. If it's screwed on ridiculously tightly or sealed on hard with some silicone or some other sealant (like this one was), you might need to use a wide pair of pliers or a wrench to unscrew it. Putting some gaffer tape around it will help give you extra grip on the smooth chromed surface - and wrapping the cloth around the tap will help to protect it from scratches or damage from your tools. The gaffer tape might leave some sticky residue but you can always clean that off later. |
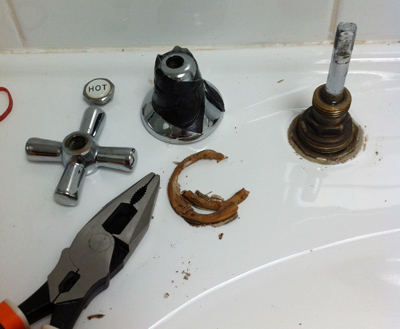 |
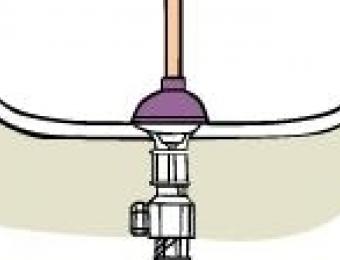
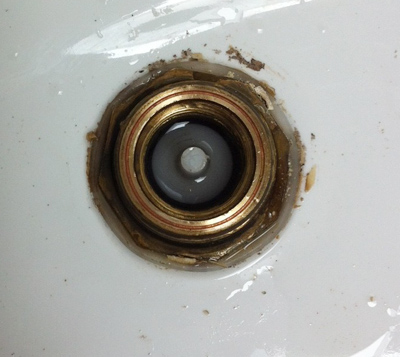
6. Use shifting wrench or spanner to remove the tap bonnetCompletely unscrew the body of the tap (i.e. the 'headgear'), as shown. Remove it and place it to one side. You should now be able to see the jumper valve inside the tap, if it hasn't come off with the headgear - this will usually be made either of brass or plastic. |
 |
7. Remove the washer and jumper valveIf you can't reach it, try using some needle-nosed pliers or a set of tweezers. At this point you may be able to see where the damage is. The washer in the next picture (the blue bit) is split, which is a pretty common failing. |
 |
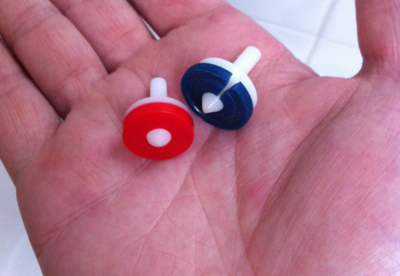
8. Take the washer to your local hardware store and find a suitable replacementThe bits you can see here are jumper valves (the white bits) with the washers attached (the rubber parts on the front). Jumper valves come in brass and plastic. You can either replace both parts at once, or just the broken washer if that's all that's wrong. Because they come in different sizes, it's best to remove the washer and jumper valve and take them with you when you're getting a replacement. Tap washers for domestic taps usually have a 12mm diameter, but some may also be 15mm or bigger. When you're comparing, remember that if the washer's split it's likely to look larger than it's meant to be. The ones in the picture below are both 12mm washers. If your tap had a skirt on it like the one shown in step 5, you might also want to pick up some silicone to reseal it to prevent mould and gunk from accumulating inside the tap in future. |
 |
9. Replace the washer, and put your tap back togetherInsert the washer and jumper valve, then screw the tap bonnet back on and tighten it sufficiently with a wrench or spanner. Put the tap back together - but don't put any silicone on the skirt before you've tested it to make sure the problem's been fixed. |
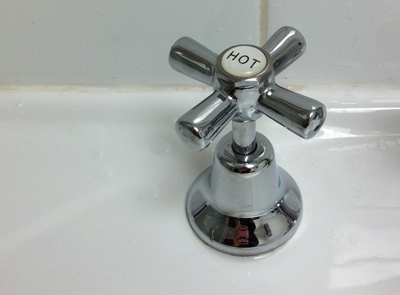 |
10. Close the tap completely, then turn the water on at the mainsMake sure the tap's off (don't close it too tightly), then turn the water on at the mains. |
|
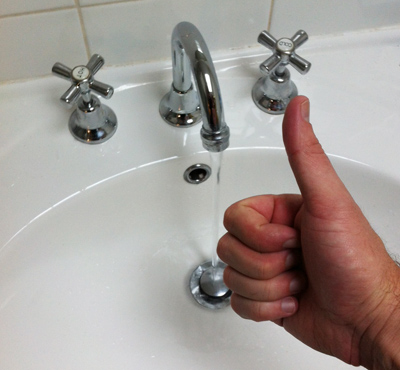
11. Test the tapTurn the tap on and off to see if it leaks. If you're confident that it's OK, you can remove the handle and the skirt, and carefully apply a bead of silicone to the bottom of the skirt to seal it up again (if your tap has one). Keep some toilet paper handy - silicone can be very messy if it gets on the wrong things. |
 |
Note: If the tap's still leaking, it may need to be reseated. You can pick up a kit at the local hardware store which will help you reseat your tap and create a good seal.