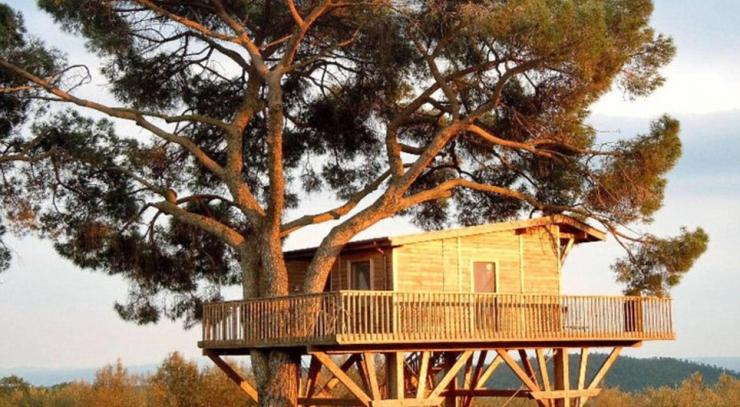
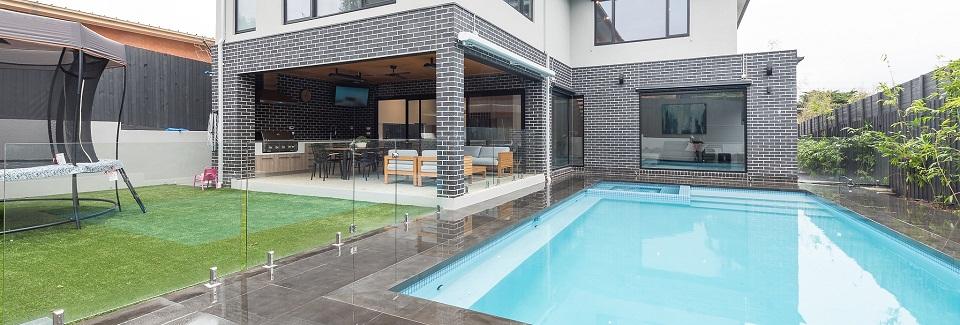
Few things are as satisfying as completing a DIY project. All those words of advice from your parents about hard work and determination finally make sense when you see the final product. When you can enjoy the final product. And the satisfaction lasts, too, especially when the project is an outdoor deck for your home.
Building an outdoor deck isn’t a project you complete in a hurry, though. Nor is it one you do without proper planning. Where to begin? Perhaps you’ve started browsing trusted online suppliers such as WB Tools for the right equipment. Whatever the case, here is our guide to building your own outdoor deck.
Step 1. Confirm Planning & Permit Requirements.
It’s natural to question this step. Especially since it’s your home. Ignore this step, though, and your project will cost you more than the price of materials. And no one wants a DIY project to land them in hot water.
Every state has different rules and regulations for decking, so consult your local council for approval. They’ll advise you on what materials you can use and the exemptions you might be entitled to. Also, have a clear idea of the deck you want to make. The better your idea is, the better advice your council can give.
Step 2. Plan, plan, plan.
Once the council gives you the green light, it’s time to start planning. Yes, you already know what deck you want. Now is the time, though, to get all the details sorted. Everything from deciding which way your deck will face to how high it will sit to whether it needs a roof. More than any other step, you must be patient and thorough, regardless of the deadline you’ve set. The last thing you want is to finish the deck only to notice a flaw you can’t fix.
If you don’t fancy your design skills, don’t worry. Use a plan that already works. You can adjust it to suit your situation. Also, take inspiration where you find it. Family and friends, next-door neighbours, Pinterest, it doesn’t matter. It’s your deck, and you can design it however you like. Don’t forget that.
Also, building a deck is not a DIY project you usually undertake alone. Enlist the help of family and friends if you can, especially if they have deck building experience. If going solo is your only option, so be it. Make a long playlist to keep you company.
Step 3. Choose Your Timber & Tools
When your design is water-tight, you’re ready to choose your materials: tools and timber, screws and deck staining equipment, whatever you need to make the project run smoothly, safely, and correctly. While you’ll need the right tools to build the deck, which timber you use will depend on your taste rather than necessity.
Do you want a deck made from hardwood, such as Merbau or Spotted Gum? Or do you prefer a more practical and economical choice, such as Treated Pine or Composite Decking? Whatever you choose, make sure you’ve considered more than just its appearance. A gorgeous deck that demands constant attention might lose its charm sooner than you think.
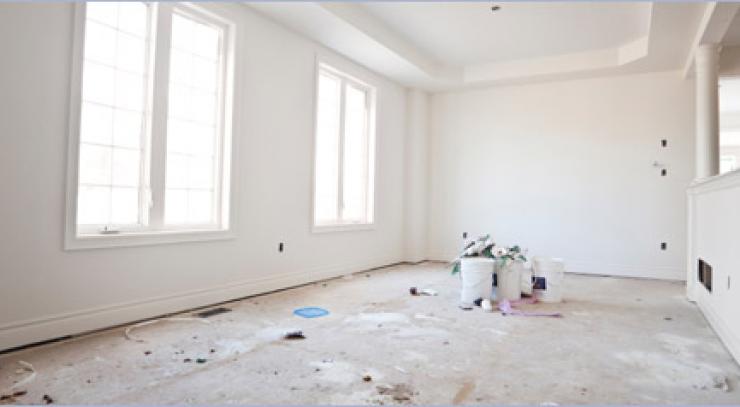
Step 4. Prepare Your Site.
Time for action. Start by measuring your deck and marking the area where it will stand. Marking will give you an idea of how large your deck will be, which is essential as it’s the last chance—the last practical chance—for you to change your mind about anything. Next, create hurdles and attach string lines so that you have the proposed shape and height of your deck. To ensure your measurements are square, use the 3,4,5 rule.
From here, you can start building. Dig the holes for your stumps. Make sure the holes are at the correct depth. Once you’ve installed your stumps, install bearers and joists. This step requires as much patience and care as the planning, so take your time. Build the substructure right, or you risk building an impractical and unsafe deck.
Step 5. Lay Your Deck.
This is the step you’ve been waiting for, the final piece of your decking puzzle. Again, take your time, or you’ll finish with an uneven deck. Double and triple-check your measurements. Use wedges to space the pieces evenly.
Then it’s simply a matter of laying your first piece, then your second piece, and so on, until your deck is complete. We can’t stress enough how important it is to take your time with this step. Yes, we know you can see the finish line. Gallop home, and you’ll undo all your hard work. Trust us.
~
It’s important to remember this is only a guide. Like anything, the reality is always more complex than the theory. Don’t be disheartened by the size of the project, though. If you’re patient, careful, and thorough, you give yourself the best chance of building a stunning deck. Good luck!