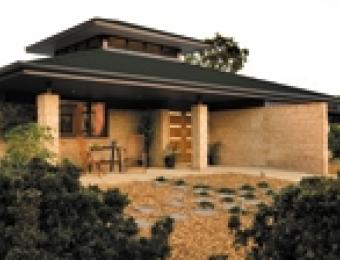
[caption caption="Most tile roofs in Australia are made of either terra cotta, or concrete like this one. Image by Monier" align="right"]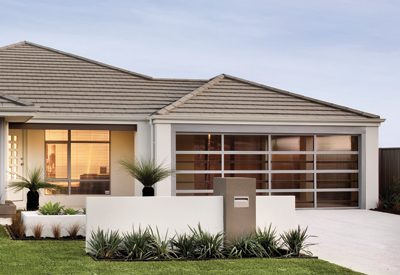
[/caption]
Once the house’s frame is in place, it’s time to put the roof cladding on. Whether this goes on before external walls are erected or clad will depend very much on what's being built. In the simplest terms, the whole point of a roof is to keep water out of your house – and that’s exactly why it’s sometimes the first thing to go up after the frame.
Many other parts of constructing a home absolutely depend on the ability to keep things dry and sheltered (including tradespeople), so getting the roof on is a big priority.
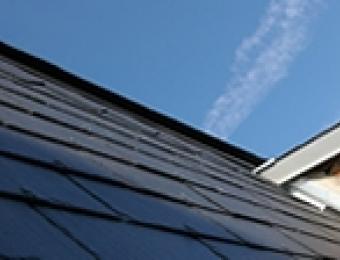
The vast bulk of roofs on Australian homes will be clad with either:
- concrete tiles
- terra cotta tiles, or
- steel
There are other options too – slate is an excellent choice, for example, but it’s less common because it costs a lot more.
How tile roofs are installed
Many of us never give any real thought to how tiled roofs are installed, and it’s fair to say that it’s an under-appreciated art. Tile roofs need to be constructed so that they’re attractive, sturdy, weatherproof and built to last. Tile roofs must be installed to the Australian Standard AS 2050 – Installation of roof tiles.
The process of tiling a roof begins with the installation of the guttering and fascia boards, and the bulk delivery of the tiles to the site. This is then followed by the installation of a guard rail and warning signage, which help to protect those below from any danger while work’s being carried out.
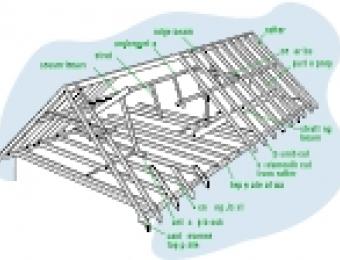
Next, measurements are made and set-out nails are hammered in place along the rafters to hold the battens, which are timber pieces that run horizontally across the surface of the roof to keep everything in place.
Installing sarking and battens
A layer of sarking (commonly a reflective foil laminate, or RFL) is then laid down over these set-out nails, with the reflective side facing downwards. What’s used exactly will depend on how your house is designed, but sarking will often act as:
- reflective foil insulation
- a vapour barrier, and sometimes
- a fall arrest device to improve safety
Once the sarking’s laid down, the battens are carefully nailed on over it, and a tile elevator is usually set up to transport the tiles safely up onto the roof. If you haven't seen one before, a tile elevator's a long, narrow conveyor belt kind of thing. Tiles are carefully laid out across the roof in small bundles, so as to distribute the weight evenly before they’re laid.
Anti-ponding board
Next, anti-ponding board (APB) is installed underneath the sarking at the edges of the roof. The purpose of the anti-ponding board is to prevent water from pooling underneath the tiles at the outer edge of the roof. The APB effectively extends the barrier provided by sarking out to the guttering.
Putting on the tiles
Tiles are then laid out across the roof and clipped on. Tiles at the edges are cut to make even lines along the hips and valleys of the roof (i.e. where the different sides of the roof meet). Valley seals are also placed under the tiles in the valleys to prevent flooding.
Once that’s done, ridge pieces are fitted to the hip edges and the ridge of the roof, where they’re mortared into place to complete the roof, bar the necessary penetrations for things like exhaust vents and roof windows or skylights.
How long does it take to put roof tiles on?
Tiled roofs generally take a bit longer to install than metal roofs. Just how long will depend on how big the roof is, and how many people are working on it. The process can take anywhere between a day and a week (or longer – particularly if there’s bad weather).
Which trades will be required?
- Tilers
- Putting in a slab or stumps
- How a house frame is erected
 How tile roofs are installed
- How steel / Colorbond / Zincalume roofs are installed
- How exterior walls are put up
- Plumbing and electrical services rough-in
- Installing plasterboard walls and insulation
- How to tile and waterproof a bathroom
- Timber fitout and cabinetry
- Interior fitout and prime cost
- What is the 'lockup stage'?